
Roof Flashing Repair in Pembroke Pines — Transition & Joint Waterproofing
Flashing protects the most vulnerable points on any roof — the transitions where the roof surface meets walls, valleys, chimneys, skylights, and equipment. When flashing lifts, corrodes, or loses its seal, water enters behind otherwise intact roofing materials. We repair and replace all types of roof flashing across Pembroke Pines properties.
Signs of Compromised Roof Flashing
Flashing failures often produce leaks that seem unrelated to the visible roof surface — because water enters at transition points and travels behind the roofing materials before appearing indoors.
Water stains appearing near walls where the roof meets a vertical surface
Leaks at roof-to-wall transitions are classic flashing failures. Water enters behind the step flashing or counter flashing and runs down the interior of the wall, staining ceilings and upper wall surfaces.
Visible rust, corrosion, or lifting along metal flashing edges
Corroded or lifted flashing has lost its ability to redirect water properly. In Pembroke Pines, humidity and salt air accelerate metal corrosion — particularly on galvanized steel flashing.
Leaks that appear only during wind-driven rain
When leaks occur only during storms with strong wind, flashing failures are a primary suspect. Wind can drive rain upward behind flashing that functions properly during normal vertical rainfall but fails when water is forced horizontally.
Dried or crumbling sealant visible at flashing joints
Sealants at flashing terminations and overlaps deteriorate from UV exposure and thermal movement. When sealant cracks, shrinks, or pulls away from the flashing, the sealed joint is no longer watertight.
Flashing Issues You Can Spot From the Ground
Look at roof-to-wall connections from the yard
Separated, bent, or rusted flashing along wall transitions may be visible from ground level, especially on two-story homes.
Check for staining on exterior walls near the roofline
Dark streaks or staining on walls just below the roofline can indicate water running behind failed flashing.
Note when leaks occur relative to wind direction
Leaks that only appear during wind-driven rain from a specific direction often point to flashing failures on that side of the home.
Types of Roof Flashing and Where They Fail
Different types of flashing serve different functions on the roof. Each has its own failure modes and repair requirements specific to Pembroke Pines roofing conditions.
Step Flashing
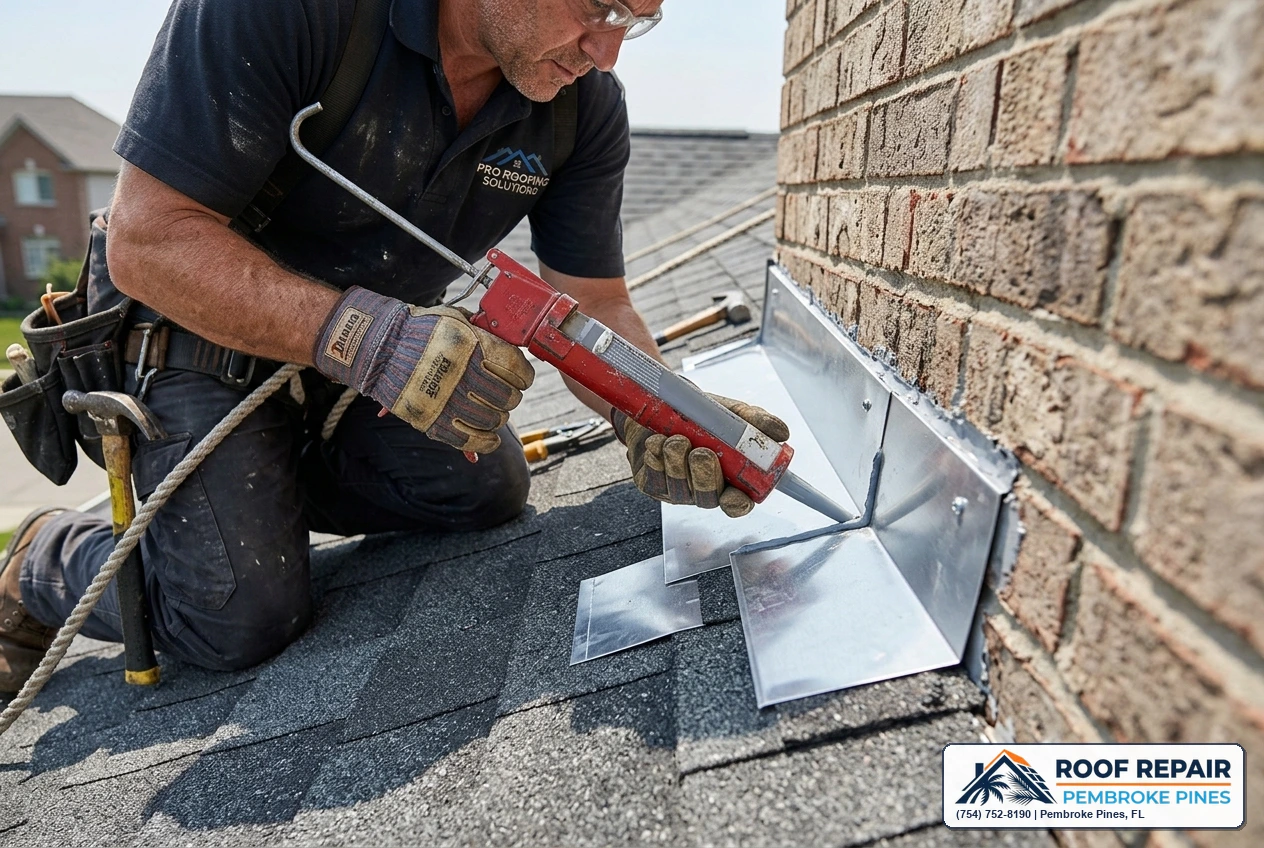
Installed where the roof surface meets a vertical wall in a stepped pattern. Failures occur when individual step flashing pieces corrode, lift, or when the sealant between the flashing and wall deteriorates.
- Lifted or bent step pieces
- Corroded metal along wall line
- Dried sealant at flashing-to-wall joint
Valley Flashing
Installed beneath roofing materials where two roof planes meet. Valleys carry the highest volume of water during storms. Flashing failures here produce some of the most damaging leaks.
- Corroded or perforated valley metal
- Debris restricting water flow
- Sealant failure along valley edges
Drip Edge
Installed along roof edges to direct water into gutters and prevent it from running behind fascia boards. Damaged or missing drip edge allows water to wick back under the roof edge.
- Missing drip edge sections
- Bent or damaged edge metal
- Rotting fascia beneath failed drip edge
Counter Flashing
Overlaps step flashing to create a two-part seal at wall transitions. Counter flashing is typically embedded in the wall's mortar joint or surface. When it pulls away, the step flashing beneath is exposed.
- Separated from wall surface
- Cracked mortar at embedment
- Lifted or curled metal edges

Why Surface Sealant Is Not a Flashing Repair
One of the most common mistakes in roofing is treating a flashing failure with a thick layer of sealant or roofing cement over the affected area. While this may stop a leak temporarily, it doesn't correct the underlying problem — and it often makes future repairs more difficult.
Proper flashing repair involves identifying why the flashing failed — corrosion, lifting, improper installation, thermal movement — and correcting the physical installation. This may mean replacing corroded sections, re-integrating step flashing with the roofing material, or installing new counter flashing that properly overlaps the components beneath it.
For roofing transitions in Pembroke Pines, where wind-driven rain puts significant pressure on every flashing detail, qualified roofing professionals address the structural issue rather than masking it with sealant.
How Flashing Repairs Are Completed
Identify the Flashing Type and Failure Mode
We determine which flashing component has failed — step, counter, valley, drip edge, or penetration flashing — and identify how it failed: corrosion, lifting, separation, improper installation, or sealant deterioration.
Access the Flashing Detail
Depending on the location, accessing the failed flashing may require carefully lifting adjacent roofing materials. We work to minimize disturbance to surrounding intact components while gaining proper access to the flashing installation.
Replace or Correct the Flashing Component
Corroded or damaged flashing is replaced with corrosion-resistant material appropriate for South Florida conditions. Lifted or separated flashing is re-secured and properly integrated with surrounding roofing materials.
Seal, Reintegrate, and Verify
After the flashing is corrected, we apply appropriate sealants at termination points, restore any roofing materials that were lifted for access, and verify that the repaired transition is properly directing water onto the drainage path.
Roof Flashing Repair FAQ
Flashing is sheet metal installed at transitions where the roof surface meets another structure — walls, chimneys, skylights, valleys, and edges. It redirects water away from these vulnerable joints. When flashing fails, water enters behind the roofing materials.
It depends on the type and location. Some repairs — like resealing counter flashing — can be done without disturbing materials. Others — like replacing step flashing — require lifting adjacent shingles or tiles to properly install the new flashing.
Different transitions are exposed to different water volumes and wind patterns. A transition on the windward side may be subjected to wind-driven rain that forces water behind flashing, while protected sides may never show problems.
It depends on the material. Galvanized steel is susceptible to corrosion in salt air and humidity. Aluminum resists corrosion better but can fatigue from thermal cycling. The sealants used with flashing typically fail before the metal itself.
Surface sealants are temporary measures. They don't address the underlying failure — whether it's lifted metal, corroded material, or improperly lapped joints. Proper flashing repair involves correcting the physical installation.
Related Flashing Services in Pembroke Pines
Suspect Leaking or Damaged Roof Flashing? Schedule an Inspection
If you're seeing water stains near roof-to-wall transitions, corroded or lifted flashing, or leaks that appear only during wind-driven rain — contact us for a professional flashing evaluation. We'll identify the failure point, explain the repair, and provide a written estimate.